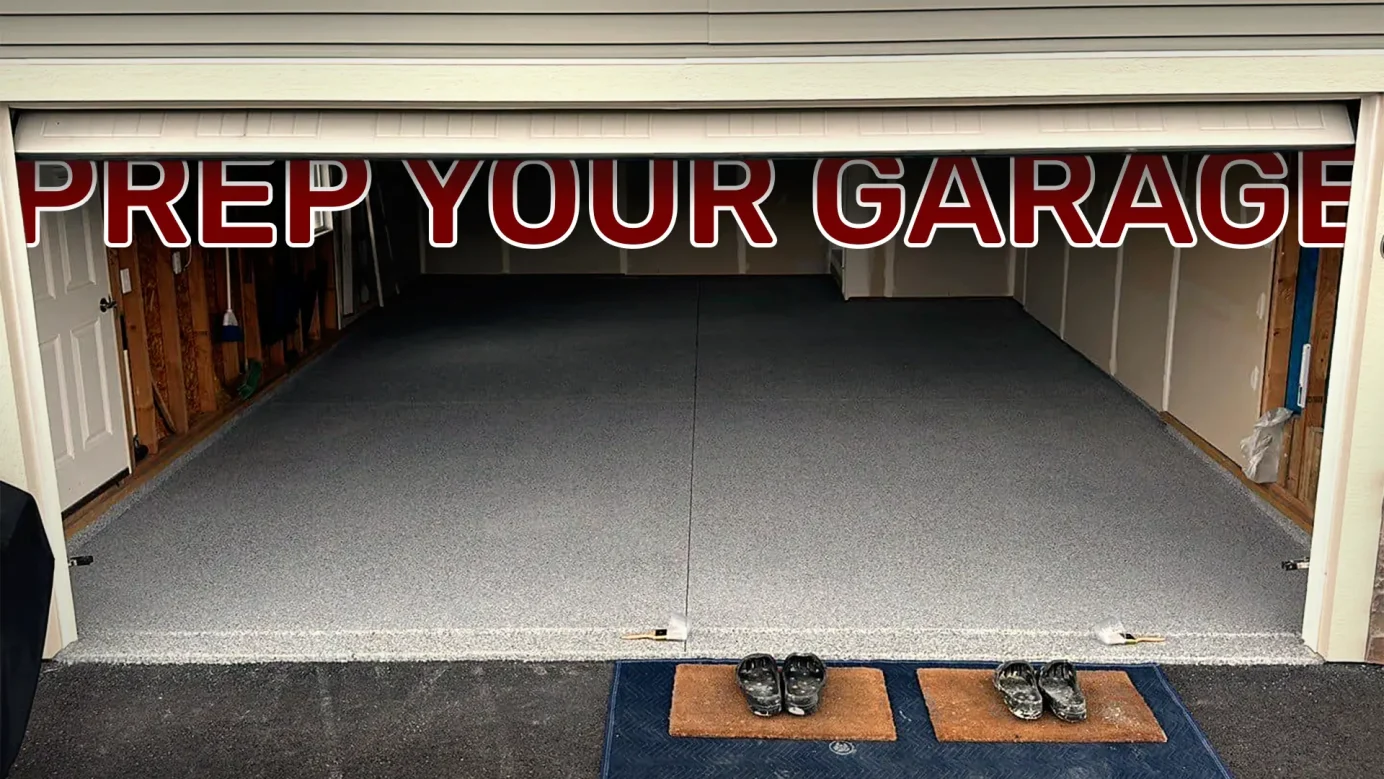
When you think of prepping your garage’s concrete floor for a garage floor epoxy coating, imagine it like prepping a wall for fresh paint. You wouldn’t start painting over peeling, cracked walls. You’d sand it down, patch holes, and clean it first. Similarly, getting your garage ready for an epoxy and polyaspartic coating in Nashville follows the same principles. Accordingly, the better the prep, the better the final result, and the less you’ll have to worry about future maintenance.
Getting Your Garage Ready – 1. Clear Out the Garage Floor
Before anything else, your garage floor needs to be completely cleared. Here’s how you can manage it:
- Move items indoors: Smaller items like tools, boxes, and equipment can be stored in your basement, attic, or a spare room. Keeping things inside will protect them from Nashville’s unpredictable weather.
- Use temporary storage: A portable storage unit is a great option for larger items like lawnmowers, shelves, and sporting equipment. These units can be rented for short-term use and offer a safe, dry space.
- Neighbor’s garage: If you have a trusted neighbor, moving items across the street might be a convenient option for temporary storage.
- Outdoor storage: For large appliances like refrigerators, store them outside under a secure tarp, ensuring they are locked for safety. Make sure they’re positioned in a way that prevents them from getting damaged by the elements.
- Any electronics that cannot be removed need to be wrapped.
- Don’t remove wall-mounted items unless they are within 36 inches of the floor.
Clearing the space for epoxy flooring is like stripping old wallpaper before painting—without a clean slate, the final product won’t look as smooth and polished.
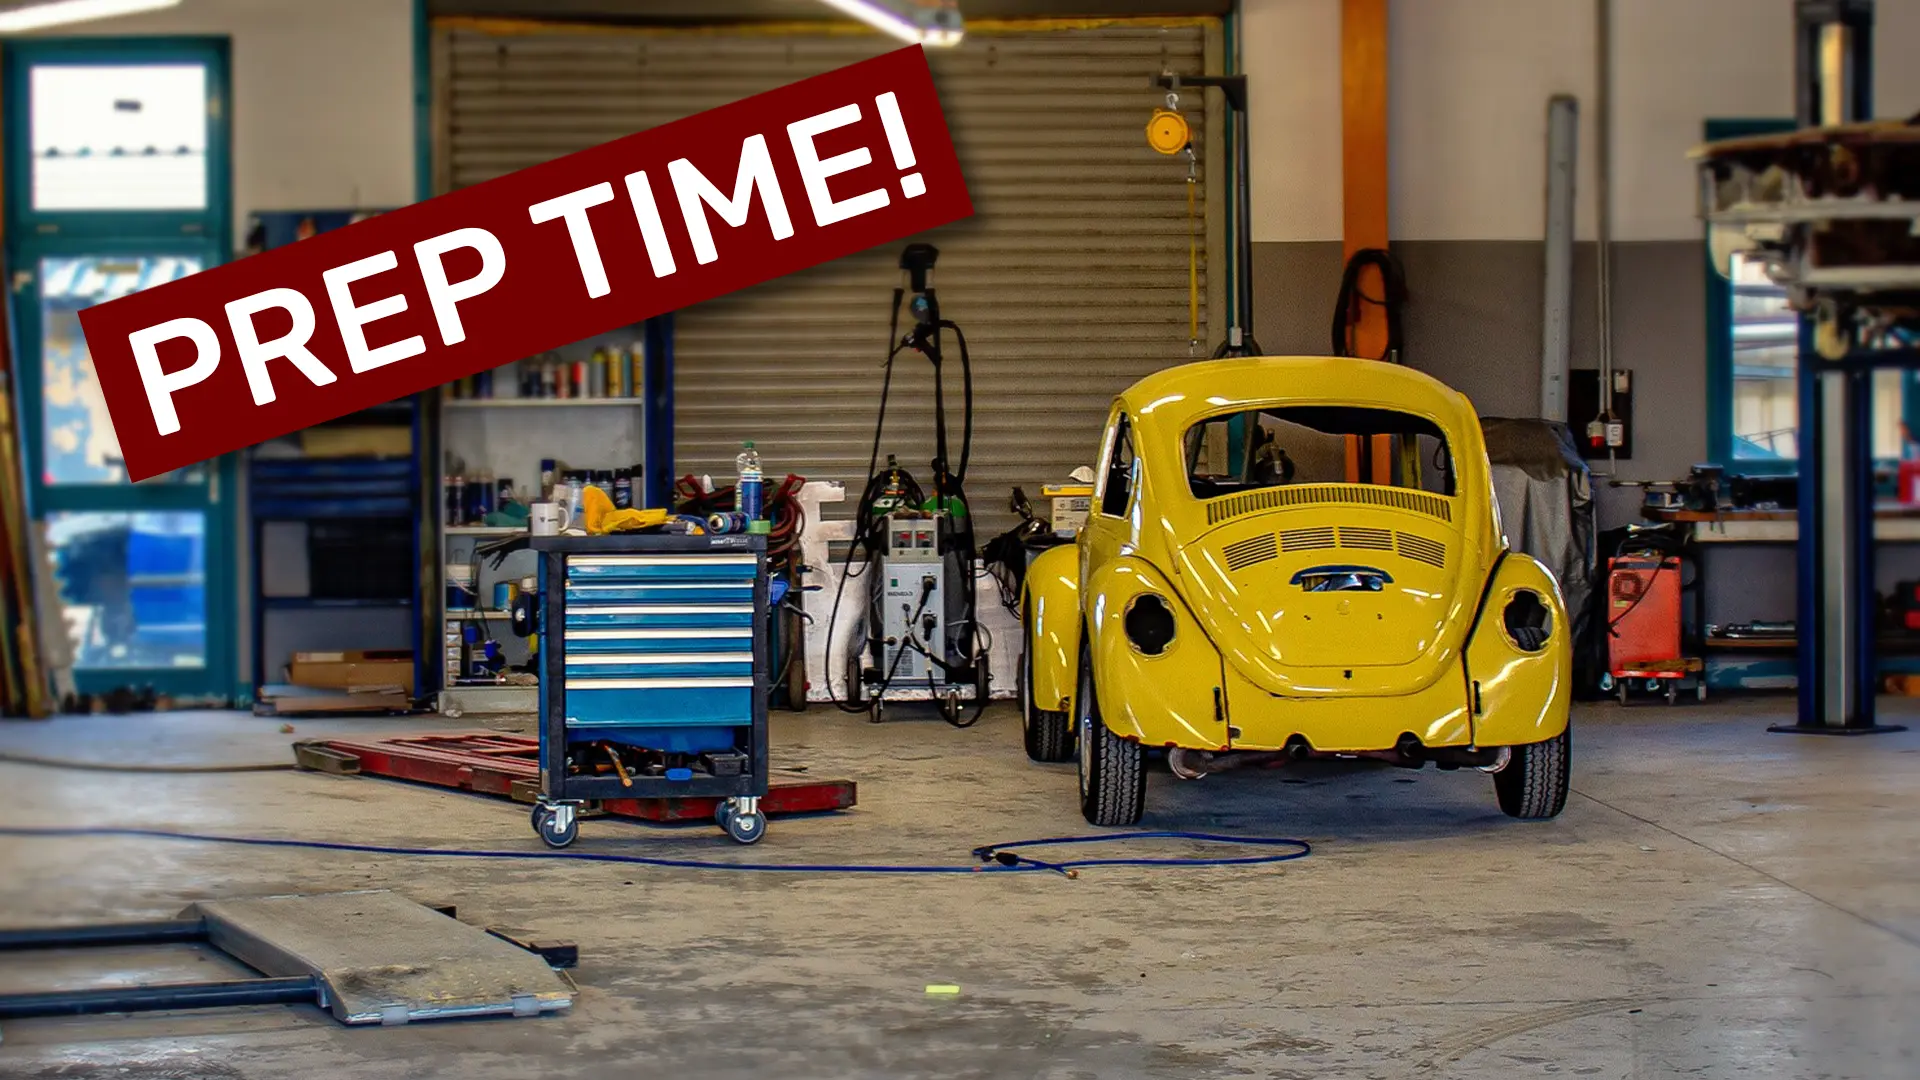

Getting Your Garage Ready – 2. Shut Off HVAC Systems
To ensure a dust-free environment during installation, turn off any HVAC units in the garage. You want to avoid dust being drawn into your ventilation system while the epoxy flooring is being applied. Keep the system off until the top coat has fully cured to ensure optimal adhesion and durability.
Getting Your Garage Ready – 3. Press Pause on Yard and Home Projects
It’s best to hold off on outdoor work while your garage floor is being coated. Mowing, using power tools, or even doing repairs near the garage can stir up dust and debris that could settle on the new floor. To keep the coating smooth and durable, wait until the installation is complete before diving back into those yard and home projects. It’ll be worth the wait!
4. Let the Pros Handle the Floor Prep
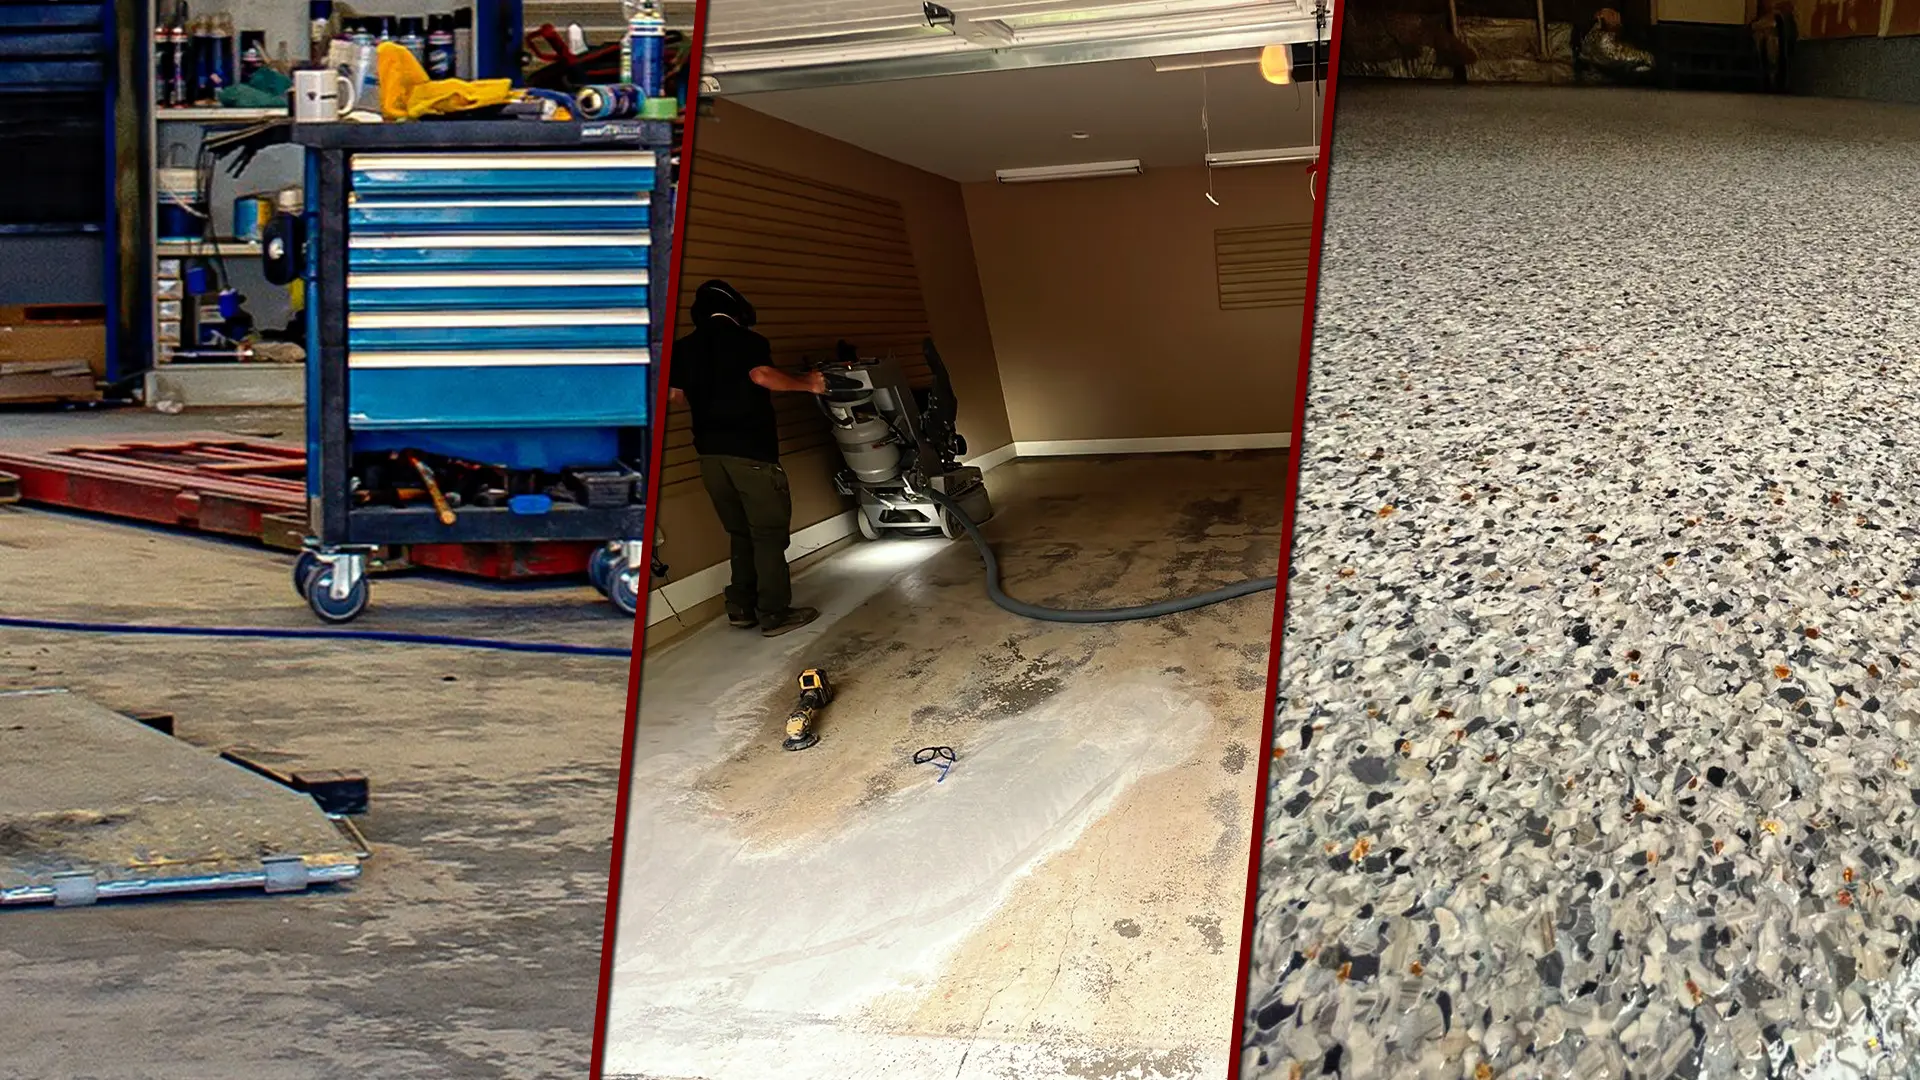
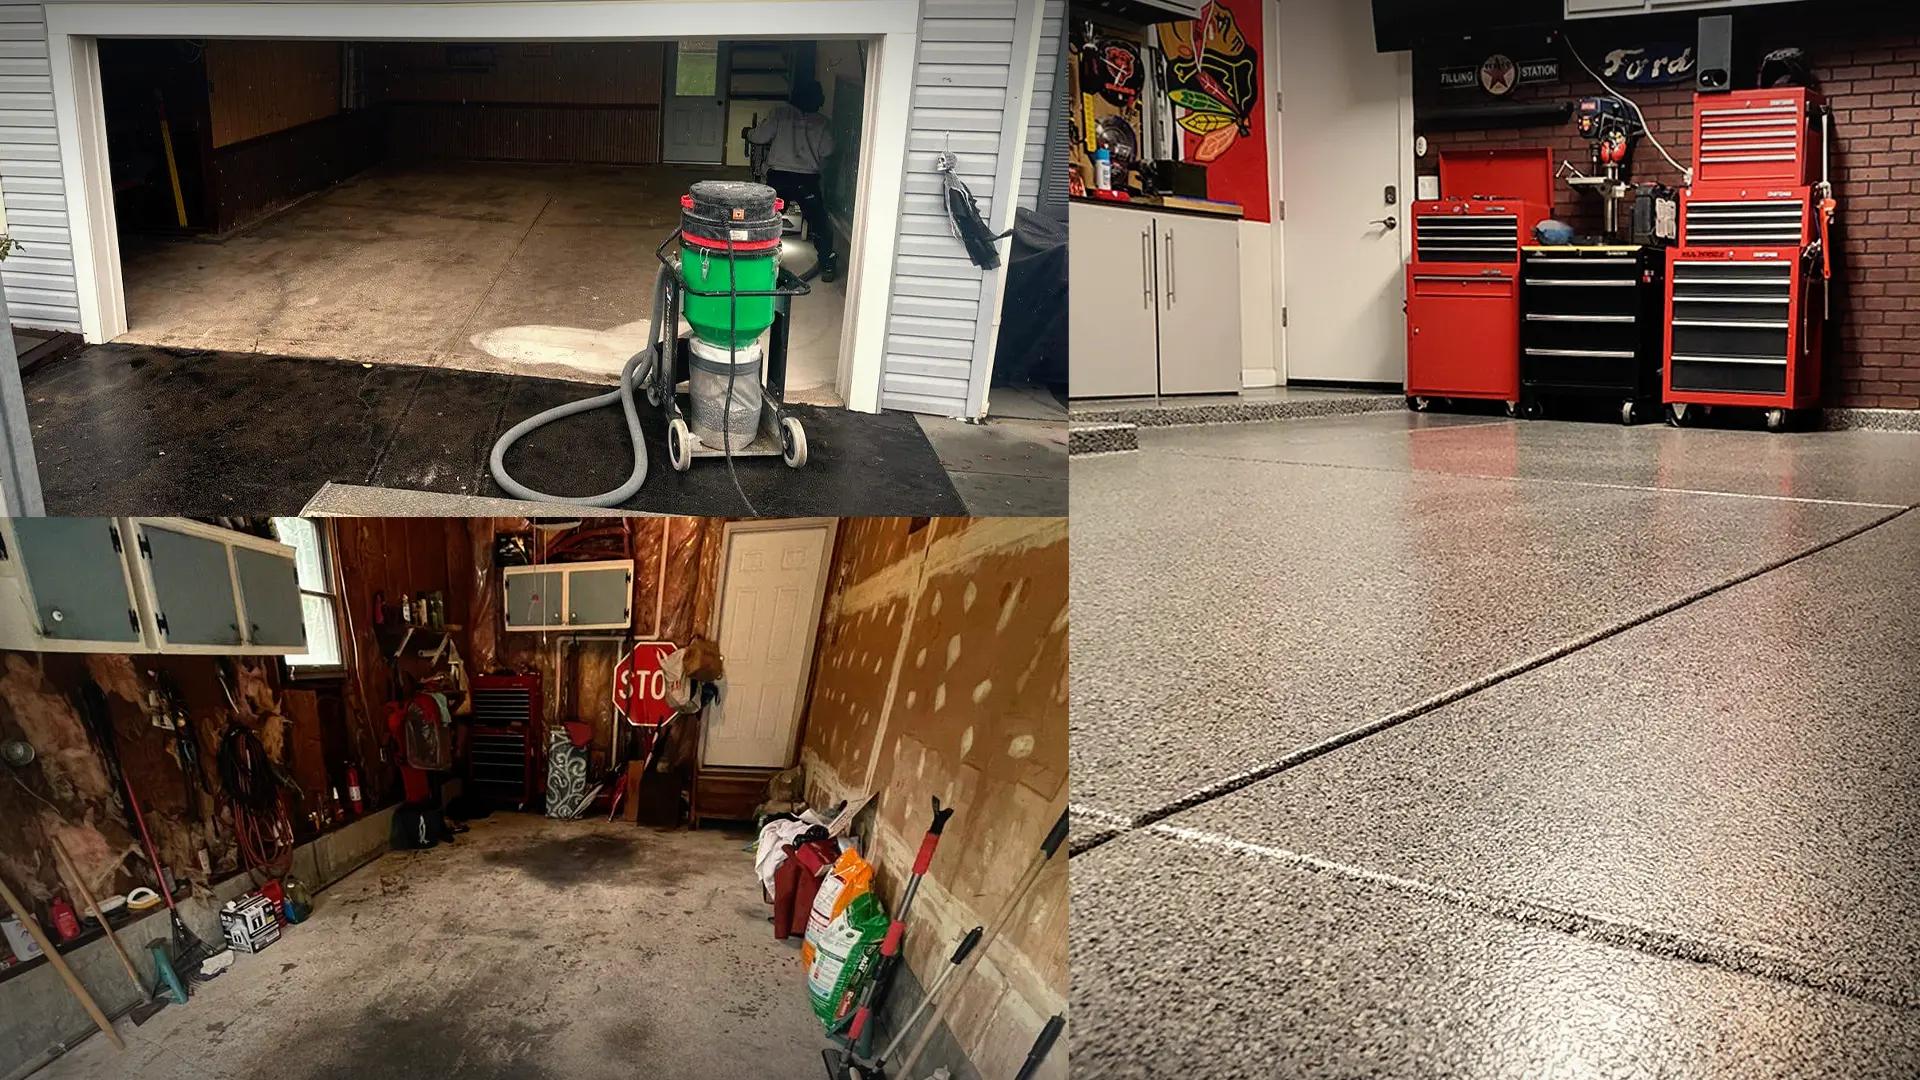
Just as a professional painter preps the surface before applying the paint, pro coating crews will handle all the surface prep:
- Grinding the floor: The team will grind down the concrete, removing old coatings, paint, or stains. This process creates a clean, textured surface that allows the new coating to bond effectively.
- Repairing cracks: Any cracks or imperfections in the floor will be filled and smoothed, ensuring a seamless finish when the coating is applied. This step is crucial in Nashville, where fluctuating temperatures can cause concrete to expand and crack over time.
Why Garages Benefit From Concrete Coatings
Nashville’s fluctuating weather—hot, humid summers and cooler winters—can take a toll on garage floors. A high-quality residential epoxy flooring solution provides protection against these extremes, ensuring a long-lasting, durable finish. These coatings are not only functional but also add a sleek, polished look to your garage, increasing the value of your home.

